Note: For On-Prem deployments, see this guide
1. Login and Configure the JetPatch Console
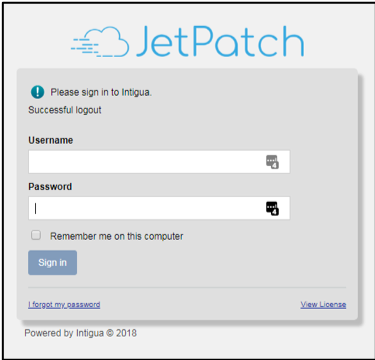
Login to the JetPatch Console via Chrome or Firefox browser using https://<input_your_hostname>/
- When you first access the JetPatch Console, enter the credentials shared with you
2. Deploy JetPatch Connector
Deploying Windows Connector
- Verify that Windows endpoint can communicate with JetPatch Server via port 443
- Download EXE
- Once the Connector Installation file is copied to the endpoint, run the following command (make sure you modify the command to point to your JetPatch server)
vlink-win-win32_x64-Release-4.1.2.231.exe -coreserverurl=”https://Your_JetPatch_Server_Hostname/vmanage-server/”
Configuring Windows Endpoint to Communicate with WSUS (GPO recommended)
- Verify that the Windows endpoints can communicate with the WSUS server via port 8530 and 8531
- Verify that no Windows endpoints have duplicative SusClientId
- Configure Updates by going to Computer Configuration -> Administrative Templates -> Windows Components -> Windows Updates ->
- Configure Automatic Updates -> Enable the policy and select the following “Configure automatic updating” in the “Options” section:
- Auto download and notify for install
- Specify intranet Microsoft update service -> Enable the policy and set both URL’s in the “Options” section (make sure you modify the URL to point to your WSUS server):
- http://Your_WSUS_Server_Hostname:8531
- Automatic Update detection frequency -> Enable the policy and set “Check for updates at the following interval (hours)” in the “Options” section:
- 4 hours
- Allow signed updates from an intranet Microsoft update service location -> Enable the policy
- This is required in order to install non-Microsoft 3rd Party Software Updates
- Everything else in the Windows Update section should be set to Not configured.
- Configure Automatic Updates -> Enable the policy and select the following “Configure automatic updating” in the “Options” section:
- Enable the execution policy by going to Computer Configuration -> Administrative Templates -> Windows Components -> Windows PowerShell ->
- Turn on Script Execution -> Enable the policy and set “Allow local scripts and remote signed scripts” in the “Options” section
Deploying Linux Connector
- Verify that Linux endpoint can communicate with JetPatch Server via port 443
- Download the Linux connector
- Once copied to the endpoint, you need to change the permission of the file to run it (via chmod +x)
- Lastly, run the following command (make sure you modify the command to point to your JetPatch server)
For RHEL, CentOS, SLES, Oracle Linux, Amazon Linux use:
./vlink_installer_linux_x64_4.1.2.231_Release.bsx -coreserverurl=”https://Your_JetPatch_Server_Hostname/vmanage-server/”
For Ubuntu use:
./vlink_installer_linux_X64_<version>_Release.bsx –coreserverurl=”https://Your_JetPatch_Server_Hostname/vmanage-server/”
3. Using JetPatch
- See our Getting Started Guide.