Video Walkthrough
- Note1: For Linux only deployments – watch the first minute to get to platform configuration, then skip to 6:00. Also, see this guide.
- Note2: For SAAS deployments, see this guide
1. Login and Configure the JetPatch Console
Prerequisites
- At this point, you should have deployed JetPatch and have the ability to log into the platform. For more information about installing JetPatch, see this article.
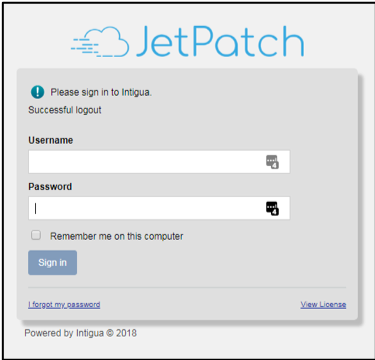
Login to the JetPatch Console via Chrome or Firefox browser using https://< IP>/
- When you first access the JetPatch Console, you will be asked to create an admin user with a strong password (at least 8 characters combining uppercase, numbers and symbols).
- After creating this user, log into the console and accept the license.
- Note: if there is an issue, please review proxy settings.
2. Add an endpoint into the JetPatch Console (source)
- Go to Platform configuration (upper right-hand corner)

- In the Servers tab, go to Server Actions > Add Physical Server:
- Configure the following:
- The endpoint’s Hostname and IP Address
- The endpoint’s Operating System
- Access Credentials: This will be assigned later.
- Click Save.
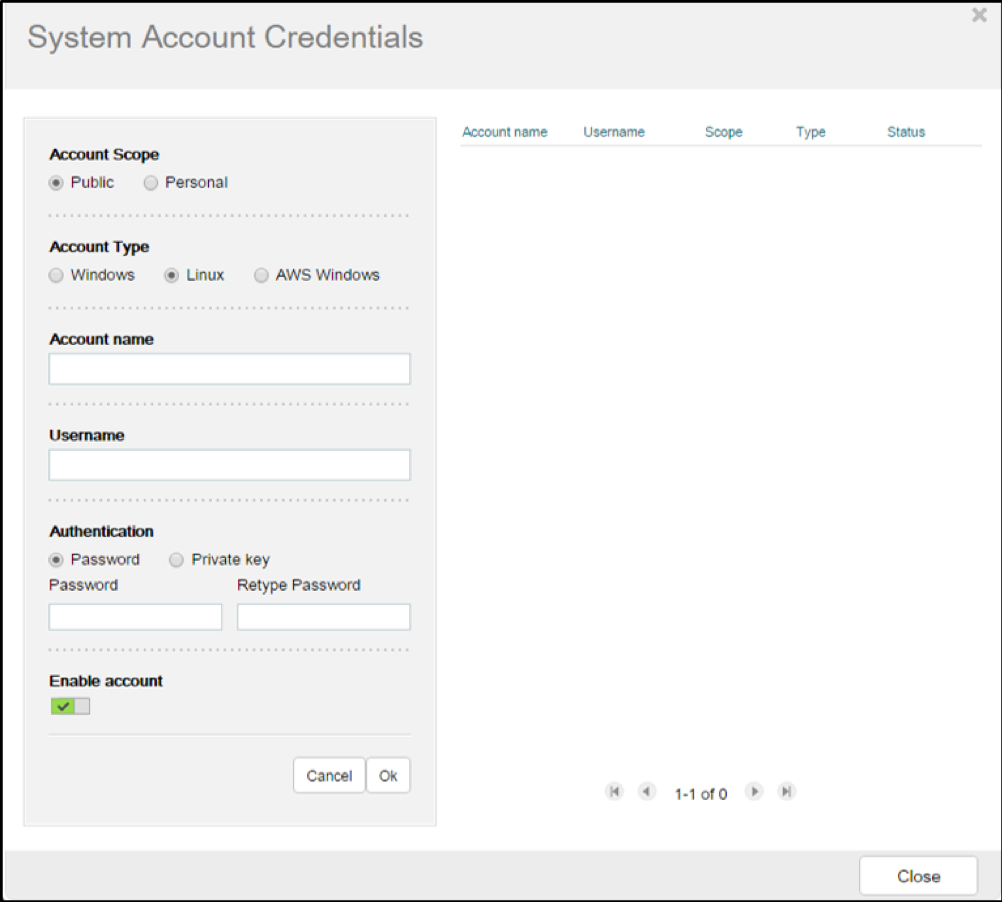
3. Provide endpoint user accounts with elevated privileges to give JetPatch access to the endpoints (source)
- Go to Settings → Server Accounts
- Select “Edit Credentials” to add new accounts
- Select the Account Type and provide an Account Name, Username, and Password
- You can also and use an SSH private key.
4. Deploy JetPatch Connector (see article)
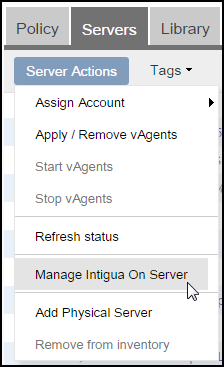
- In the Servers tab, select the endpoints, and click Server Actions > Manage Intigua on Server:
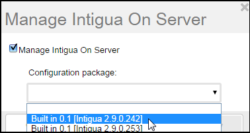
- Select Manage Intigua On Server, and under Configuration package, select a JetPatch services management package:
- Click Apply.
- Alternative option: Deploy connector from the endpoint itself
If there are any issues deploying the connector, see this article for next steps.
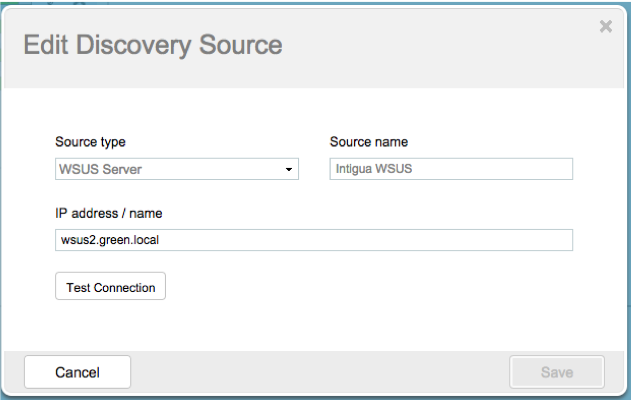
5. Windows Discovery (see article) – skip section if you have no Windows in your environment
- Add the WSUS server to JetPatch
- Add and assign an administrative account to the WSUS server
- Deploy the JetPatch connector on the WSUS server
- Add the WSUS discovery source
- Verify that relevant windows endpoints registered and reporting to the WSUS server.
Note: You can only add one WSUS server as a discovery source to JetPatch. For more WSUS servers use a primary-replica setup.
![]()
6. Using JetPatch
- See our Getting Started Guide.